When a tenant moves out and leaves a unit full of furniture, mattresses, bagged trash, broken shelving, and random leftovers, the trash-out can feel like the simplest part of the turnover. Open the door, haul everything away, and get maintenance started.
In practice, a good apartment trash-out needs more structure than that. Property managers have to protect the unit, common areas, maintenance schedules, vendor budgets, documentation, and the next lease date. If the cleanout is rushed without a system, the job can turn into damaged walls, missed items, resident complaints, extra trips, and delays that cost more than the removal itself.
This checklist is built for Utah property managers, apartment communities, HOAs, and portfolio operators who need vacant units cleared quickly without creating more work for the maintenance team. It is not a legal checklist, and it does not replace your company’s abandoned property, eviction, or compliance process. Think of it as the operational checklist for the removal stage, once your team has confirmed the unit is ready to clear.
Quick note before you start: If belongings may still be considered tenant property, confirm your notice, storage, abandonment, or eviction requirements with your legal counsel or compliance team before anything is discarded. The trash-out should happen after the unit has been cleared for removal, not before.
What Counts as an Apartment Trash-Out?
An apartment trash-out is the removal of items left behind after a tenant move-out, eviction, skip, abandonment, or failed turnover. For property managers, the goal is not just to “get rid of junk.” The goal is to return the unit to a condition where maintenance, cleaning, repairs, painting, flooring, pest control, and leasing can move forward without delay.
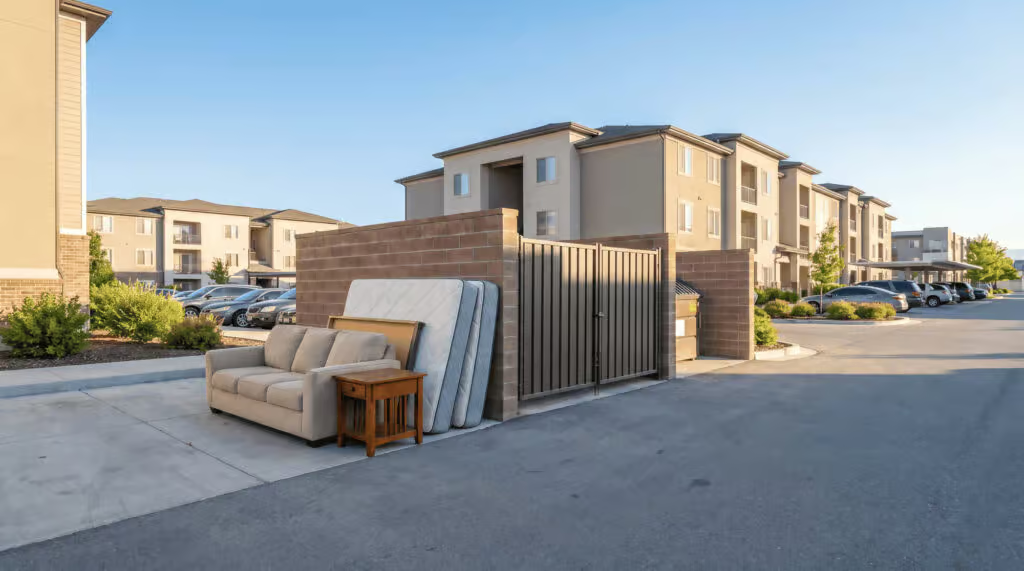
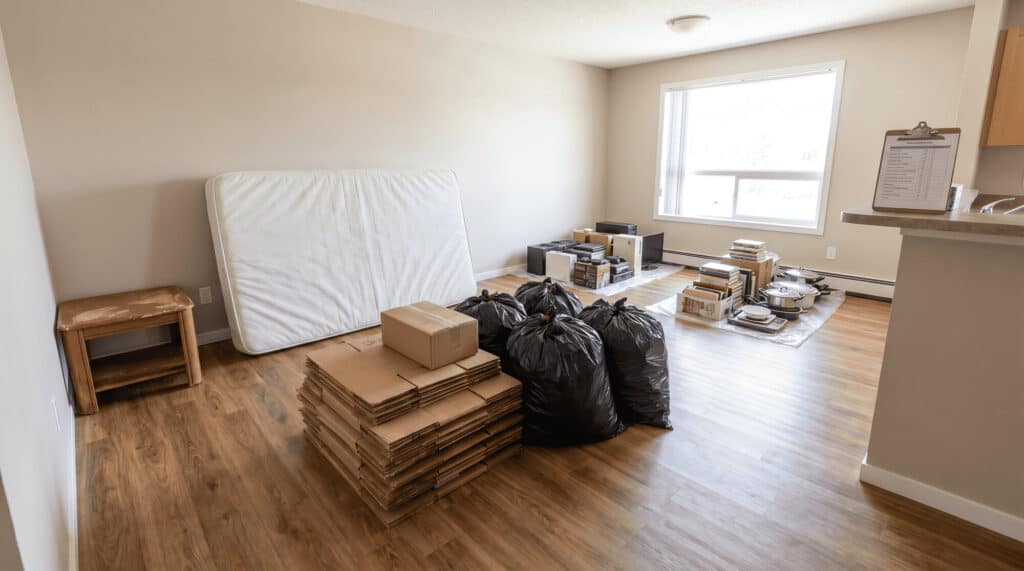
A typical apartment trash-out may include furniture, mattresses, box springs, couches, tables, bagged trash, loose debris, shelving, small appliances, broken household goods, abandoned bicycles, patio items, and bulk items left near dumpsters or breezeways. In larger communities, the trash-out may also include garage cleanouts, storage closet cleanouts, common-area dumping, and overflow around the dumpster enclosure.
The best trash-outs are planned like part of the turnover workflow, not treated as a last-minute emergency. That is where the checklist comes in.
Step 1: Confirm the Unit Is Cleared for Removal
Before the first item is moved, confirm that your team has authority to clear the unit. This is especially important after an eviction, abandonment, or skip where belongings were left behind. Your property management company may have internal policies for notices, waiting periods, documentation, storage, and tenant communication.
The junk removal crew should not be the one deciding whether something is legally abandoned, valuable, or disposable. That decision belongs to the property manager, owner, attorney, or compliance process. Once your team has cleared the items for removal, the trash-out vendor can do the physical work quickly and efficiently.
Before scheduling the job, confirm the unit number, access instructions, lockbox or key location, parking instructions, elevator access if applicable, and whether any items should stay. If maintenance has already identified items to keep, tag them clearly or move them out of the removal path before the crew arrives.
Step 2: Take Photos Before Anything Moves
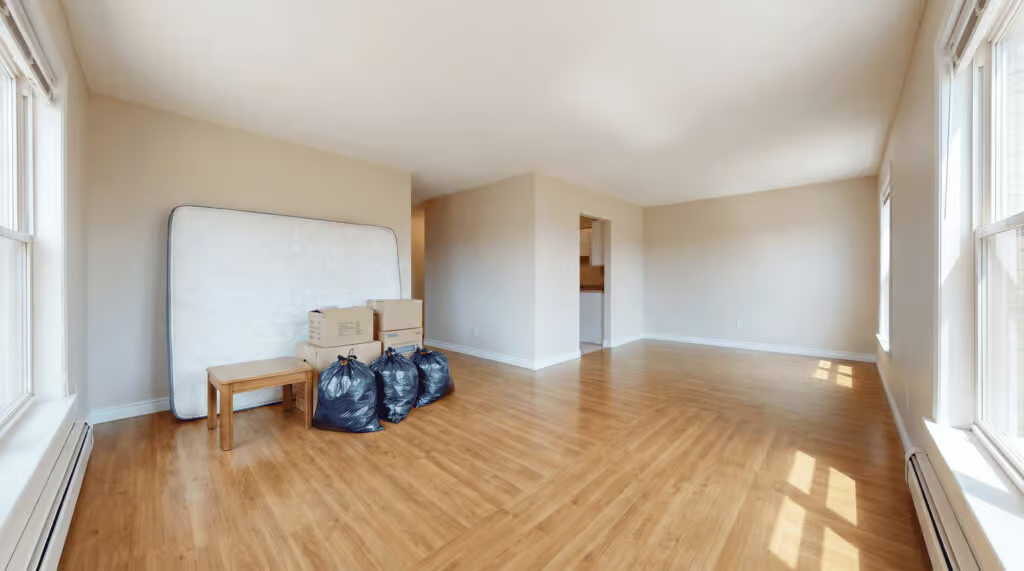
Before photos protect everyone. They give the property manager a visual record of the unit’s condition, show what was left behind, and help resolve questions later if a former tenant, owner, or internal team member asks what was removed.
At minimum, document the entry, kitchen, living room, bedrooms, bathrooms, closets, balcony or patio, garage, storage area, and any obvious damage. Take wide shots first, then close-ups of items that may be questionable, unusually large, hazardous, or valuable. If you have an internal turnover checklist, attach the photos to the work order or resident file before the cleanout starts.
For property management teams along the Wasatch Front, this step matters because turnover moves fast. A dated photo trail keeps the process organized when multiple units, vendors, and maintenance tasks are moving at the same time.
Step 3: Identify What Needs Special Handling
Not every item in a vacant unit should be handled the same way. Before the crew arrives, walk the unit and identify anything that may require special handling, separate disposal, extra labor, or a different vendor.
Common items to flag include refrigerators, washers, dryers, large appliances, electronics, paint, chemicals, propane tanks, tires, batteries, medical waste, sharp objects, pest-contaminated items, heavy furniture, exercise equipment, and anything that may require more than two people to remove safely.
This does not mean every flagged item is a problem. It simply means the removal plan should account for it. The fewer surprises on arrival, the faster the trash-out goes.
Step 4: Clear a Safe Path Through the Unit
A cleanout is faster and safer when the crew has a clear path. If possible, open interior doors, remove trip hazards near the entry, and confirm which route the crew should use for hauling. For apartments, that may mean stairs, breezeways, elevators, garages, loading zones, or a specific service entrance.
Common areas matter just as much as the unit. Dragging furniture through hallways without a plan can damage walls, door frames, flooring, landscaping, and resident-facing spaces. If the building has narrow stairwells, long corridors, shared elevators, or limited parking, communicate that before the job is scheduled.
For larger apartment communities, it can also help to notify the leasing office or maintenance team when the removal crew is expected. That prevents confusion if residents see a truck, crew, or items being carried through the property.
Step 5: Separate Unit Trash-Outs From Dumpster Overflow
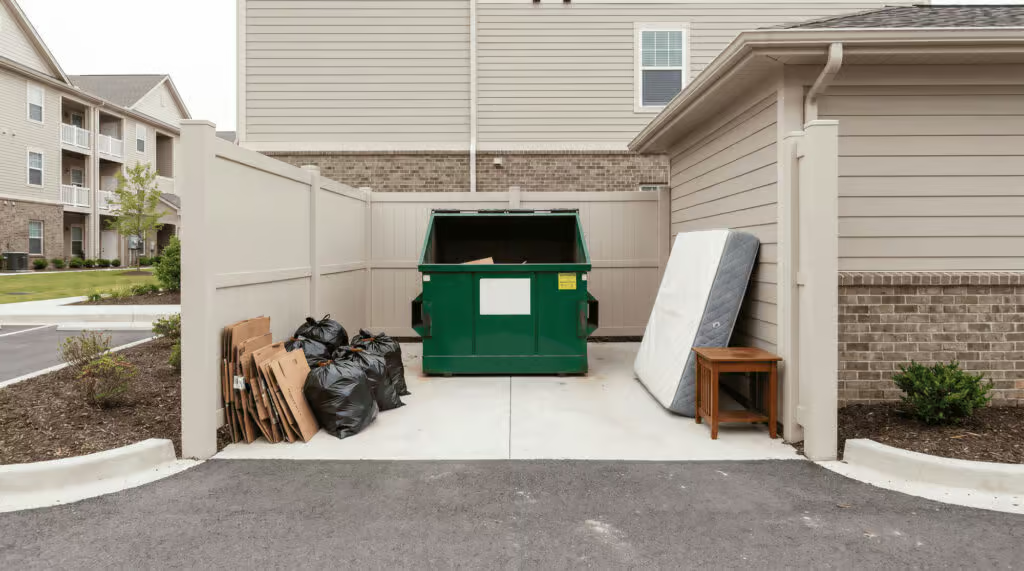
Unit trash-outs and dumpster overflow are related, but they are not always the same job. A vacant unit may need furniture and debris removed from inside the apartment, while the dumpster area may also need mattresses, couches, cardboard, and loose trash cleared from the enclosure.
If both areas need attention, identify that before dispatch. The crew may need to plan truck space, labor, and disposal around both the interior cleanout and the exterior bulk pickup. This is especially important after weekends, holidays, student move-outs, lease-end cycles, or multiple turnovers in the same building.
Do not assume that everything can simply be pushed to the dumpster. Overflow around dumpster areas can create resident complaints, pest issues, blocked access, and a bad first impression for prospects touring the property. A clean trash-out should leave the unit clear and the property exterior under control.
Step 6: Schedule Around the Turnover Timeline
The best time to schedule a trash-out is before the rest of the turnover stack gets crowded. If maintenance, cleaning, paint, flooring, pest control, and leasing are all waiting on removal, the cleanout becomes the bottleneck.
When possible, schedule the trash-out as soon as the unit is cleared for removal. Give the vendor the move-out date, target rent-ready date, access window, and any known restrictions. If the unit is on the third floor, has no elevator, contains large furniture, or has limited truck access, share that up front.
For property managers in Salt Lake City and nearby Wasatch Front communities, same-day or next-day availability can be the difference between keeping a turnover on schedule and losing another day of rent. The more information your vendor has before arrival, the easier it is to hit the timeline.
Step 7: Protect the Maintenance Team’s Time
Maintenance teams are usually capable of moving items, but that does not mean hauling abandoned furniture is the best use of their time. Every hour spent dragging mattresses, loading couches, or making dump runs is an hour not spent on repairs, work orders, inspections, or rent-ready tasks.
For small items or light debris, maintenance may be able to handle the work internally. But when a unit has heavy furniture, large volume, stairs, multiple rooms, or exterior dumping, it often makes more sense to bring in a junk removal partner. That keeps maintenance focused on the tasks only they can do.
A good trash-out vendor should make the maintenance team’s job easier, not create another coordination problem.
Step 8: Get After Photos Before Closing the Work Order
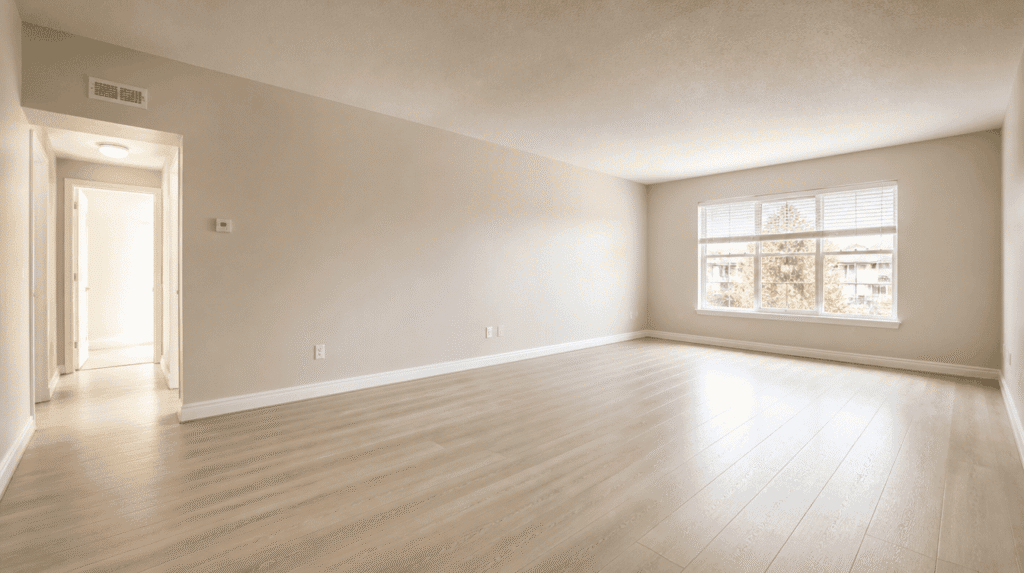
After photos are just as important as before photos. They confirm the unit was cleared, show that the removal scope was completed, and give the property manager a record before the next vendor begins work.
Take photos from the same angles used in the before set when possible. Capture the main rooms, closets, balcony or patio, storage areas, garage, and any exterior bulk pickup areas included in the job. If the vendor provides before-and-after photos, save them with the work order or turnover file.
This final documentation step helps protect the property, the manager, and the vendor. It also makes it easier to communicate with owners, regional managers, and maintenance supervisors without relying on memory.
Apartment Trash-Out Checklist
- Confirm the unit is legally and internally cleared for removal.
- Verify the unit number, access instructions, parking, and hauling route.
- Take before photos of every room, closet, storage area, patio, and garage.
- Clearly mark anything that should stay.
- Flag appliances, electronics, chemicals, tires, batteries, heavy items, or anything requiring special handling.
- Confirm whether the job includes only the unit or also dumpster overflow, common areas, garages, or storage spaces.
- Protect hallways, stairwells, elevators, landscaping, and resident-facing areas during removal.
- Schedule the trash-out early enough that maintenance and cleaning are not waiting on junk removal.
- Get after photos before closing the work order.
- Save photos, notes, invoices, and vendor communication with the turnover file.
Common Trash-Out Mistakes to Avoid
The most common mistake is starting removal before the unit has been cleared through the proper process. The second is failing to document the condition of the unit before the cleanout begins. Both can create problems later, especially when belongings, charges, deposits, or owner questions come up.
Another common issue is underestimating the job. A unit that looks simple during a quick inspection may have closets, patios, garages, or storage areas full of items. If the vendor only planned for a small load, the property may end up needing a second trip.
Finally, do not ignore the exterior path. A clean unit does not help much if the crew leaves bulk items near the dumpster, scratches the hallway, blocks resident parking, or creates a mess in a common area. The best trash-out is clean from the unit door to the truck.
When to Use a Junk Removal Partner
Use a junk removal partner when the unit has more volume than your maintenance team can handle efficiently, when heavy items are involved, when stairs or long carries create safety concerns, when multiple turnovers are happening at once, or when the timeline is tight.
A professional crew can remove furniture, mattresses, appliances, bagged trash, and bulk items while your maintenance team keeps moving on repairs and rent-ready work. For property managers, that is the real value. It is not just the hauling. It is keeping the turnover schedule from getting stuck.
Junk Run Bros works with property managers across Salt Lake City and the Wasatch Front to handle apartment trash-outs, move-out cleanouts, dumpster area cleanup, and bulk item removal. Once your team has confirmed the unit is ready to clear, we handle the removal step quickly, professionally, and with before-and-after documentation.
Apartment Trash-Out FAQ
How fast can an apartment trash-out be completed?
Timing depends on the size of the unit, the amount of material, access, stairs, parking, and whether special handling is needed. Many standard trash-outs can be scheduled quickly once the unit is cleared for removal, especially when the property manager provides photos and access details up front.
Should maintenance handle the trash-out?
For light debris, maybe. For furniture, mattresses, appliances, multiple rooms, stairs, or tight turnover deadlines, a junk removal crew usually protects the maintenance team’s time and reduces the chance of delays.
What should property managers document before a cleanout?
Document the unit condition, items left behind, rooms affected, special handling concerns, and anything that should not be removed. Before-and-after photos are one of the simplest ways to keep the turnover file organized.
Can a trash-out include garages, storage closets, or patios?
Yes. Those areas should be included in the scope before the crew arrives. Garages, patios, balconies, and storage closets are common places for tenants to leave bulky or forgotten items.
Does Junk Run Bros decide what can be removed?
No. The property manager, owner, attorney, or compliance team decides what is cleared for removal. Junk Run Bros handles the physical trash-out after your team confirms the items are ready to go.